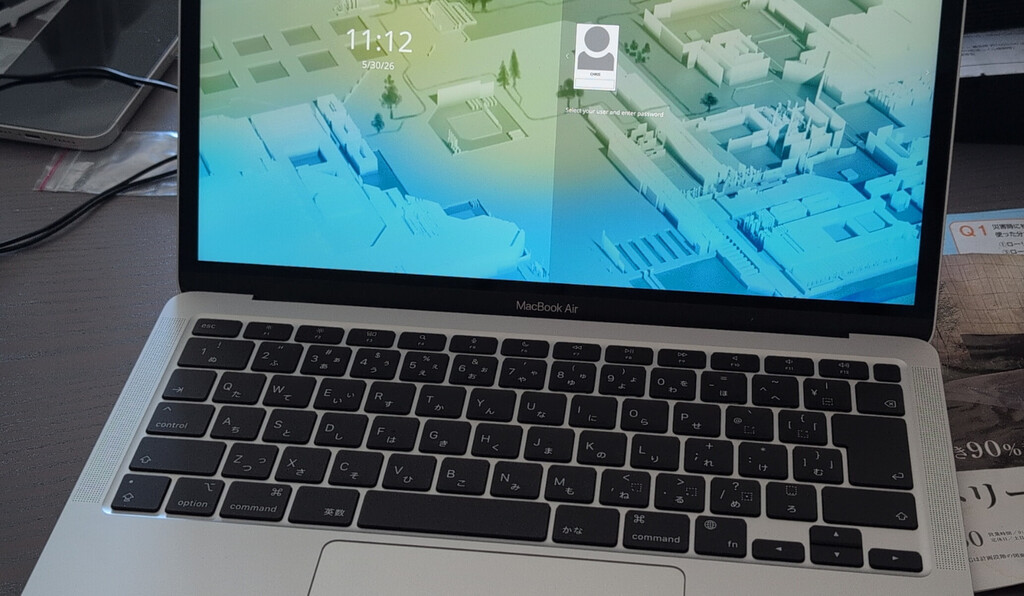
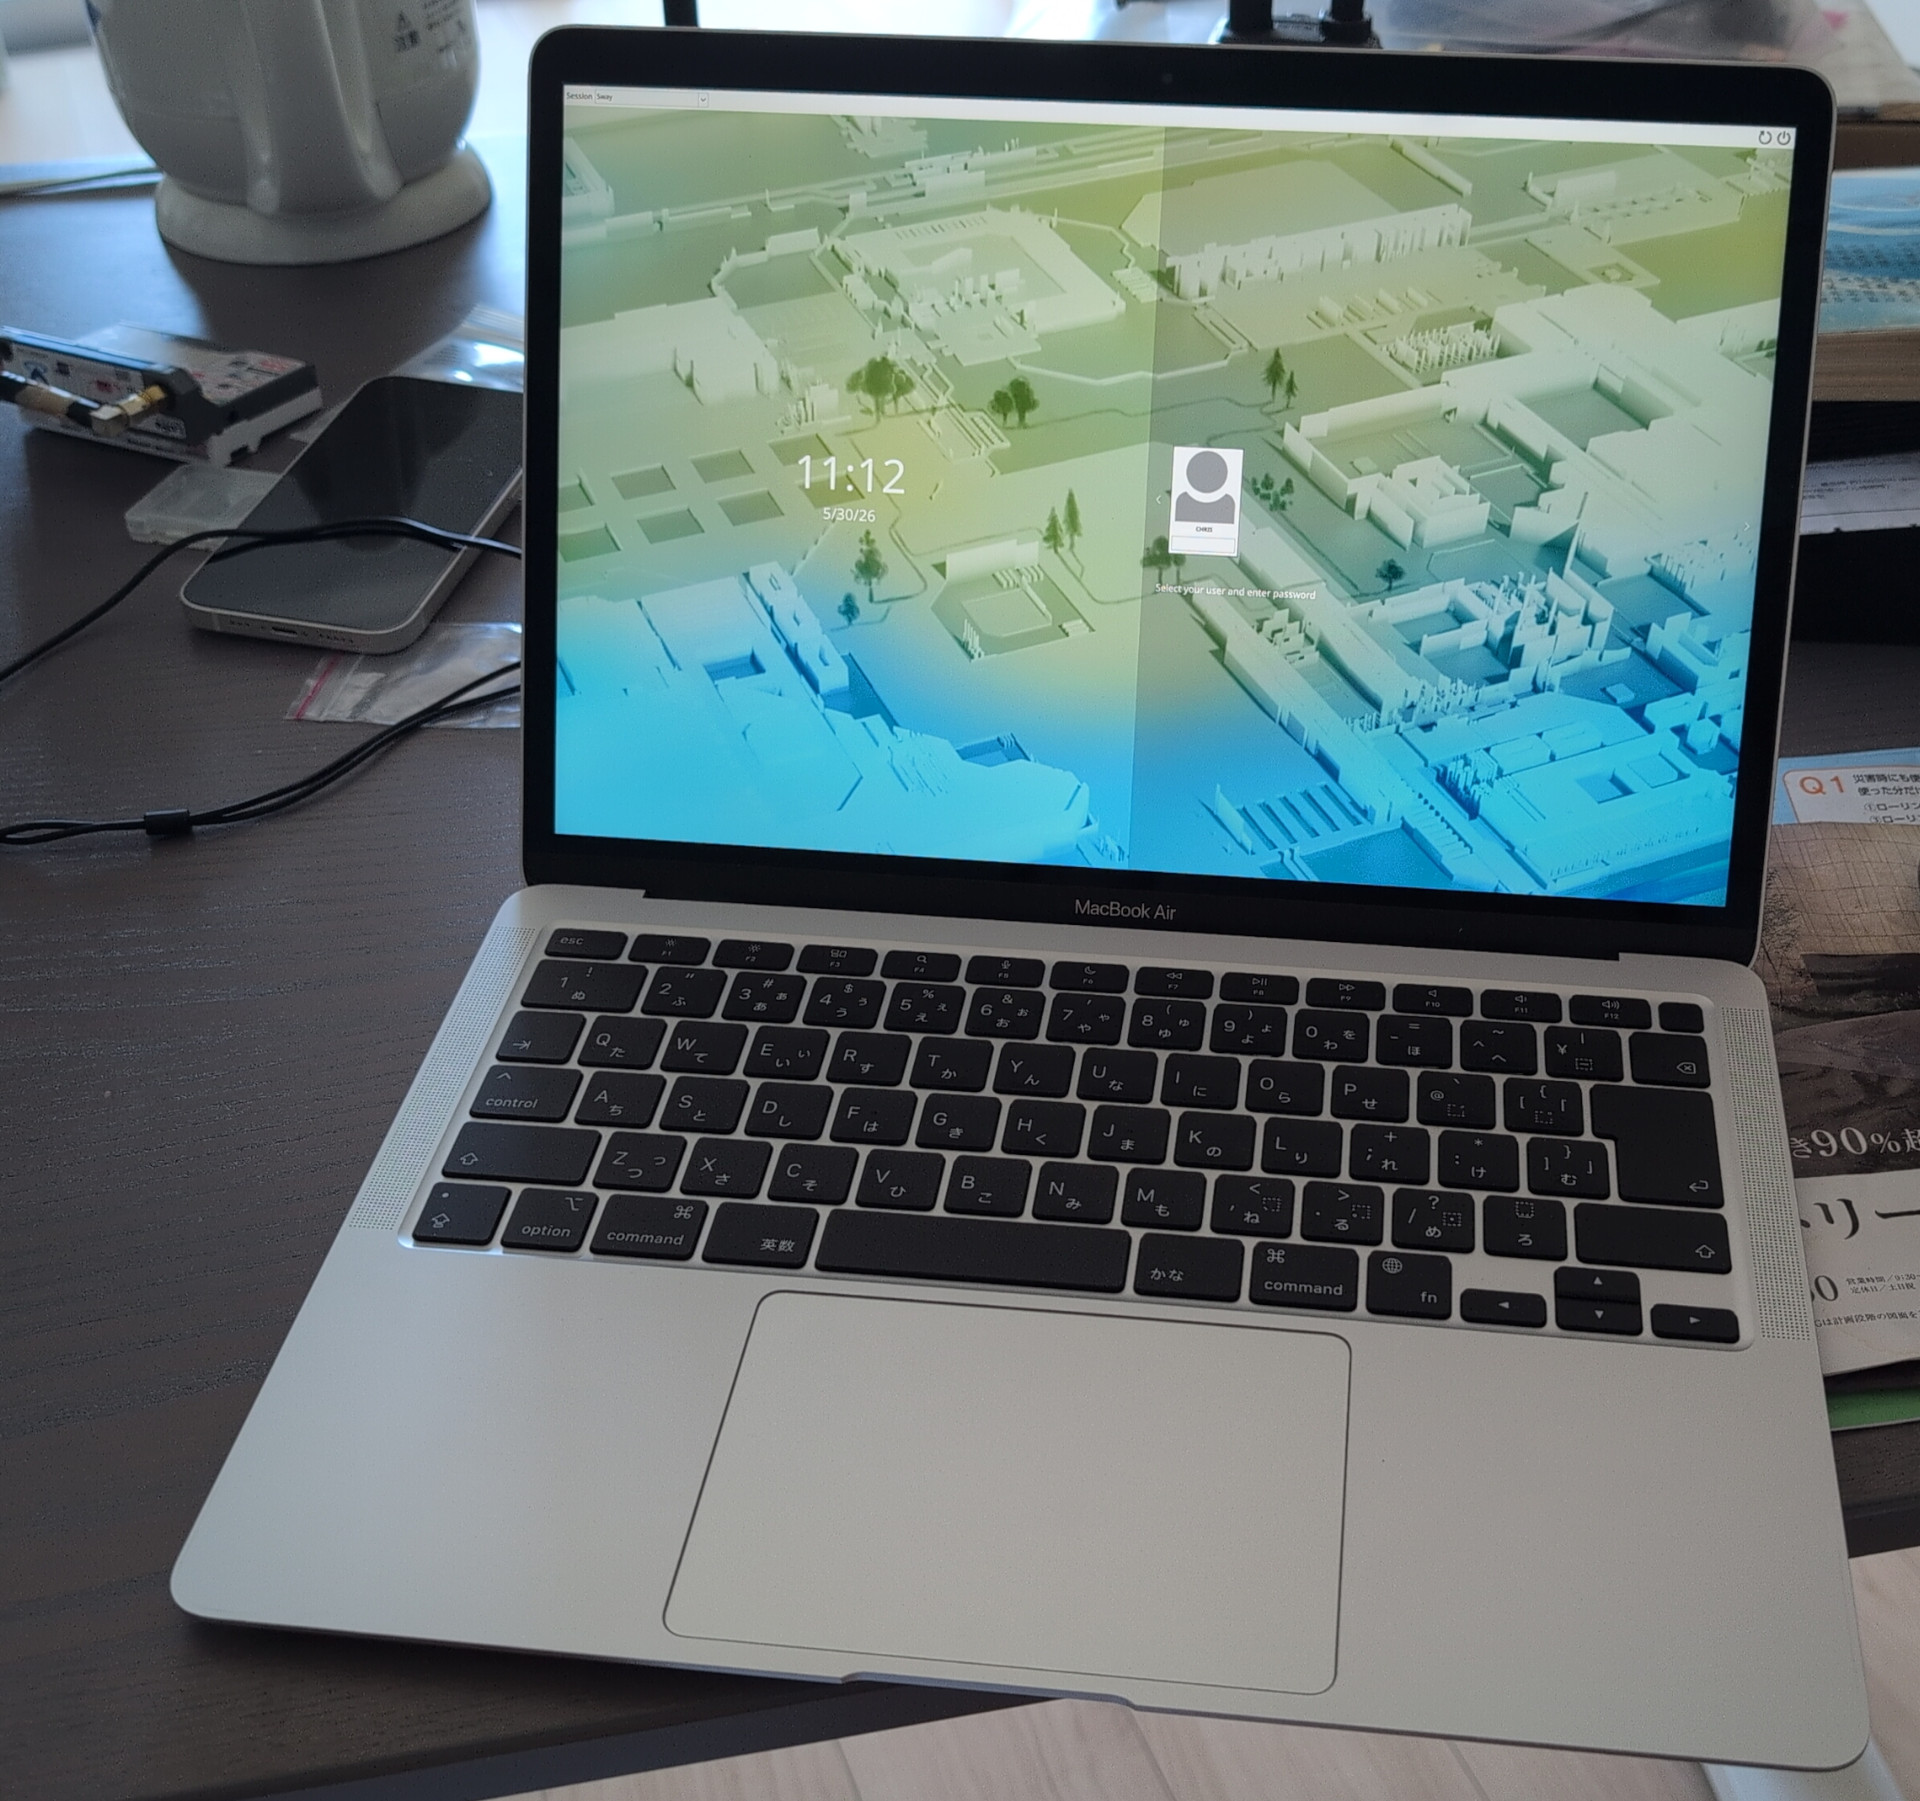
I recently got myself an Apple MacBook Air M1, these are down to 5万円/350$ here in Japan. The CPU efficient, the screen is good - I plan to use the device as portable desktop with Fedora Asahi Remix. Also for HAM activities: to go to parks/summits, setting up an antenna and have the macbook drive my QMX+ radio transceiver to do FT8 transmissions - the macbook is light and small, the screen is good and can be turned up to be still readable in sunlight.
My last Asahi system was the MacBook pro M2, it was my workplace system, now returned to the company.
For a portable system, we want disk encyption nowadays. In 2023, I was following this guide. Things have changed massively, so this here is a guide as of 2026.
Kudos to
- Marcan and the Asahi team
- Leif Liddy for asahi-fedora-usb
- @copyrights@chaos.social for article input
Overall procedure
These steps require the already setup Asahi installation. We will then
- Create a USB drive with Asahi Linux
- Boot from that
- LUKS Encrypt the Asahi file system
- Update the Asahi version on the USB drive to match the real installation
- And then configure grub and rebuild initramfs

Step 1: Create the live media and boot from it
As of Fedora Asahi Remix 44, this works quite nicely with leifliddy’s asahi-fedora-usb.
# Internet connectivity, if not yet setup:
# List wifi networks, then connect
nmcli dev wifi
nmcli dev wifi connect <your-ssid> password <password>

# Install dependencies
dnf install arch-install-scripts bubblewrap gdisk \
  pandoc rsync systemd-container git mkosi

# checkout the code
git clone https://github.com/leifliddy/asahi-fedora-usb.git
cd asahi-fedora-usb/

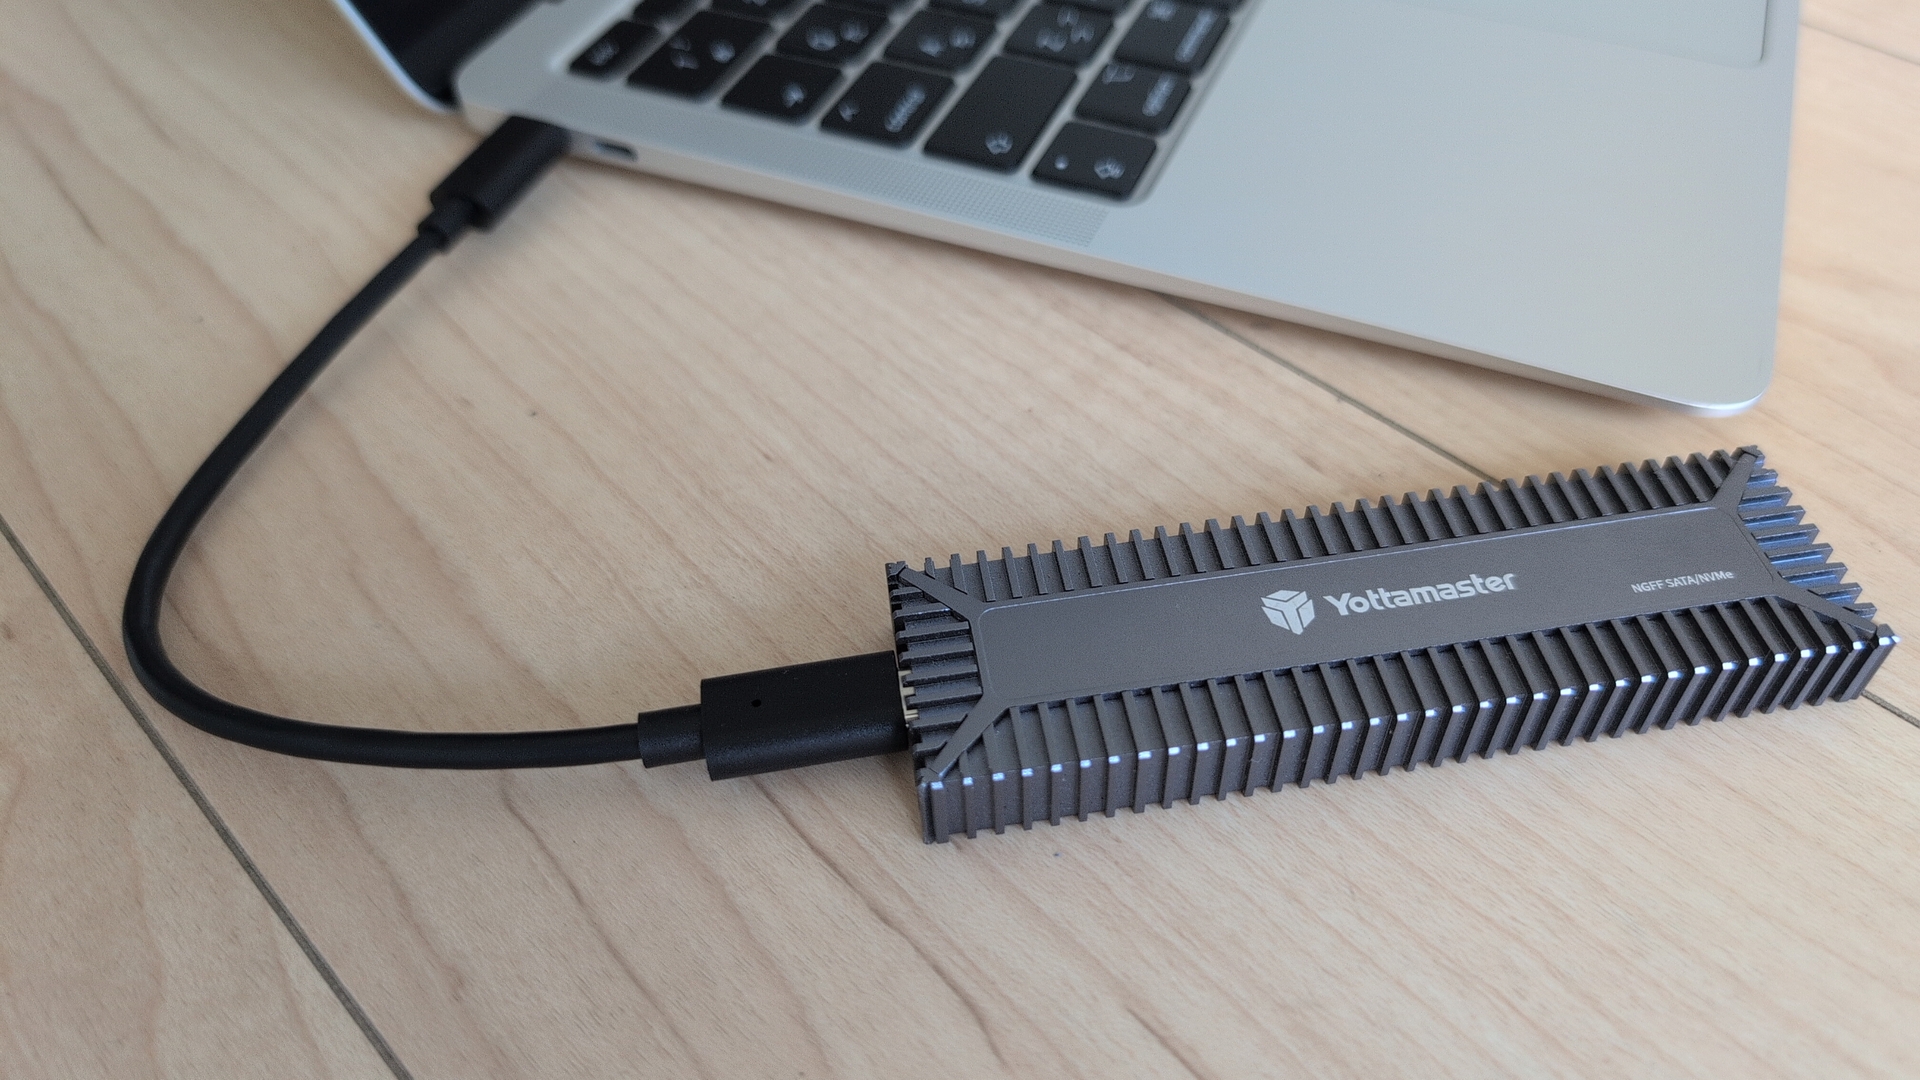
# Now attach the usb media you want to boot from. For me, a USB-C
# attached enclosure with an NVMe inside.  For some folks, USB-2
# devices did not work for booting, but USB-3 devices.
# Confirm where the USB device appears:
cat /proc/partitions
# For me it's at /dev/sda.

# Build and install a minimal Asahi Fedora image to a USB drive:
./build.sh -d /dev/sda

# Until 2026/5/30, this did fail because Fedora 44 comes with
# mkosi 26, which the script did not support.  Manually changing
# mkosi_supported_version to "26" fixes this.
Step 2: External Booting and reencoding
Now reboot the system.
- At the UEFI prompt, after ‘u-boot’ is written on the screen, interrupt in pressing the ESC-key. You get the “=>” prompt.
- Enter “eficonfig”, change boot order so usb is first.
- Then use ‘run bootcmd’ on the efi prompt to boot. grub from the external media will run.
- For me, the Fedora boot procedure was stuck, root partition was not found. Modifying the grub parameters to ‘root=/dev/sda3’ did not help. What helps: once the boot is stuck, unplug the usb-c connected NVMe drive, then plug it in again. Maybe try a different USB-C port. For me, that did the trick.
- Then, login with root/fedora
- Encrypt the Asahi installation:
# Using lsblk -f /dev/nvme0n1 identify the partition used for the root filesystem.
# This should present as a btrfs file system with the label fedora_asahi. In the
# example below /dev/nvme0n1p6 is the Fedora root filesystem that will be encrypted in-place:

[root@fedora ~]# lsblk -f /dev/nvme0n1
NAME        FSTYPE FSVER LABEL        UUID                                 FSAVAIL FSUSE% MOUNTPOINTS
nvme0n1
├─nvme0n1p1 apfs                      4ccf344c-1842-4ed2-98f7-d34a509f5a88
├─nvme0n1p2 apfs                      dbb4789e-c51d-46bf-8332-90a43b4e4fa7
├─nvme0n1p3 apfs                      b98ec259-629b-4aee-9f26-02c5098abcee
├─nvme0n1p4 vfat   FAT32 EFI-FEDORA   B01E-2641                             419.8M    16% /run/.system-efi
├─nvme0n1p5 ext4   1.0   fedora_boot  5b094e58-d15f-4be2-85ff-147859c7b118
├─nvme0n1p6 btrfs        fedora_asahi dd08a2bf-ae63-44e1-881d-fbb8928af4fb
└─nvme0n1p7 apfs                      b465c845-eaef-4bcb-aac9-865c42260844
Now resize the btrfs file system, and onthefly encrypt the existing Asahi installation. Despite the warning, the procedure is expected to keep your data usable/not delete it.
mount /dev/nvme0n1p6 /mnt
btrfs filesystem resize -32M /mnt
umount /dev/nvme0n1p6

# LUKS encrypt the root filesystem partition in-place.
cryptsetup reencrypt --encrypt --reduce-device-size 32M /dev/nvme0n1p6
Step 3: Ensure Fedora 44 is on the external media
From 2026/5/31 on, asahi-fedora-usb is deploying Fedora 44 on the USB media, and this step can be skipped.
If you use an older installation on the USB media, you will need to update it to match the version of your internal disk Asahi installation. Luckily, this works with the default ‘Fedora upgrade steps’. Ensure you are connected to the internet, then:
dnf upgrade --refresh
dnf system-upgrade download --releasever=44
Then reboot, do the unplug/plug dance again to have the media recognized, and the installation on the usb media gets upgraded to Fedora 44.
Step 4: Preparing Asahi
Now we need to prepare the Asahi installation to deal with the encrypted disk. We are now booted into Fedora 44 from the usb media:
cryptsetup open /dev/nvme0n1p6 fedora-root
cryptsetup status fedora-root

mount -o subvol=root /dev/mapper/fedora-root /mnt
mount -o subvol=home /dev/mapper/fedora-root /mnt/home
mount /dev/nvme0n1p5 /mnt/boot
mount /dev/nvme0n1p4 /mnt/boot/efi

# Store the LUKS UUID in variable for later use
export LUKS_UUID=$(cryptsetup luksUUID /dev/nvme0n1p6 | tee /dev/stderr)

mount -t sysfs sysfs /mnt/sys
mount -t proc proc /mnt/proc
mount -t devtmpfs devtmpfs /mnt/dev

chroot /mnt /bin/bash

touch /etc/crypttab
chmod 0600 /etc/crypttab
echo "fedora-root UUID=${LUKS_UUID} none discard" >> /etc/crypttab
cat /etc/crypttab

# Now append rd.luks.uuid=LUKS_UUID to variable
# GRUB_CMDLINE_LINUX_DEFAULT.
# Instead of using Perl, you might want to just
#   echo $LUKS_UUID >>/etc/default/grub
# and then use an editor.  Pay attention to using two
# >> signs, to append to the file.
perl -i -pe 's/(GRUB_CMDLINE_LINUX_DEFAULT)="(.*)"/$1="$2 rd.luks.uuid='"${LUKS_UUID}"'"/' /etc/default/grub
cat /etc/default/grub

# rebuild initramfs
grub2-mkconfig -o /boot/grub2/grub.cfg
dracut -f

# If the kernel versions of your internal and external installation
# do not match, you might need something like this for rebuilding
# the initramfs:
dracut -f /boot/initramfs-6.19.140.asahi.fc40.aarch64.img \
  6.19.140.asahi.fc40.aarch64

# Then exit the chroot, reboot
exit
reboot
Now, after rebooting the system, we can change the uefi-order back and boot our encrypted Asahi.
Step 5: Confirm TRIM works
At this point, we should ensure proper handling of TRIM at all layers so that the storage is handled in the best way. As we added ‘discard’ to /etc/crypttab, we were setting up the required pieces. Let’s confirm:
root@空:~# fstrim /
root@空:~#
Without TRIM being enabled on all layers, for example without the ‘discard’ in /etc/crypttab we would get:
root@空:~# fstrim /
fstrim: /: the discard operation is not supported
I’ve done a first setup and given KDE a try again, but then I did go back to do a minimal Asahi installation, and installing sway. Details are on the wiki. Now on to installing Japanese keyboard input systems, syncthing and HAM software.
Corrections? Questions? -> Fediverse thread