Here I will try to sum up steps and some backgrounds about running Linux on the Playstation4. The guides I read were sparse on background details, aimed at saying ‘click here and there, and then you have a Linux’. But for debugging one needs to understand more of the background. The guides also use Windows systems for the preparations, I try to provide the details so a reader can perform the steps on all systems. The install steps could actually be simpler when done from Linux, but I will stick to the procedure also used in other guides.
Why would one run Linux on the PS4?
I’m oldschool in thinking that when I purchase hardware, I should have full control over it. When I got the Playstation 4 pro, I basically just played ‘Control’, and then it was collecting dust - until now, that I can run Linux. People have various motivations to run Linux on the PS4:
- To use the PS4 their media client: to play videos, music, Netflix etc.
- As media server: the PS4 can provide services. One can make video/ music files available to the PS4 via usb3 or network, and then run Kodi, Jellyfin, Plex Media server etc. to make the media files available to be played via local network, or on the Ps4 itself
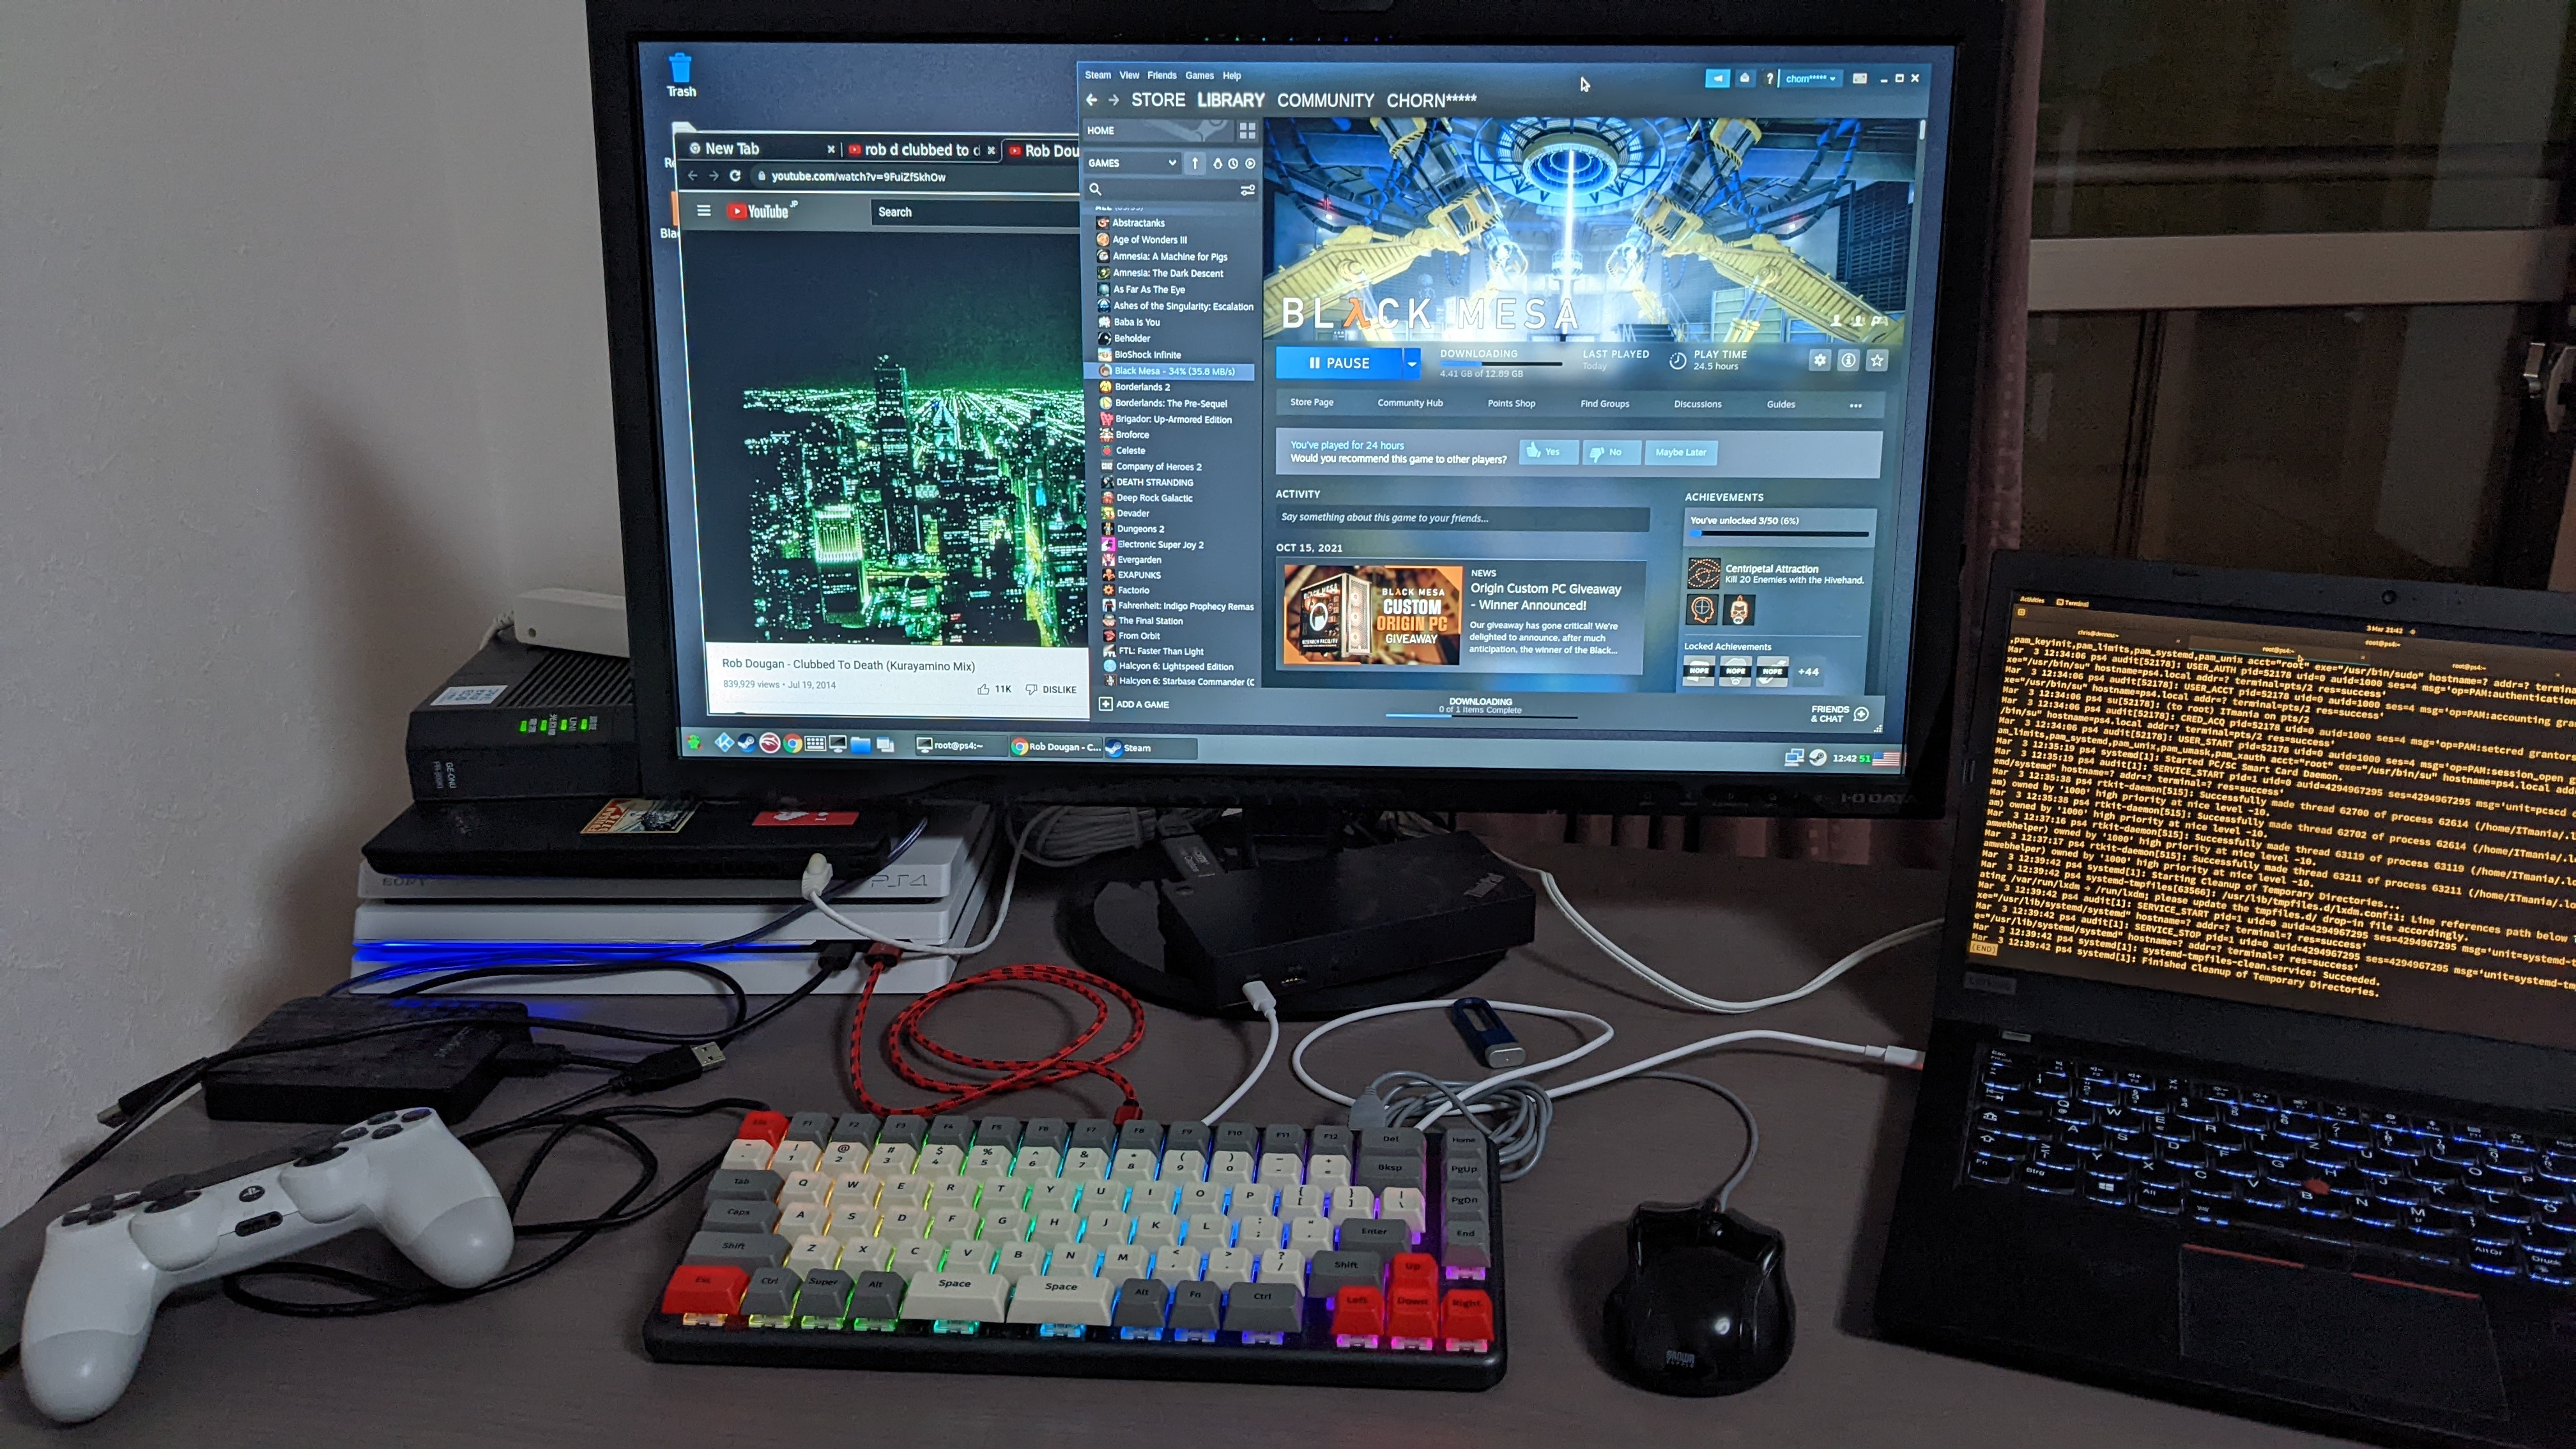
- For gaming: the PS4 has 8 cores, 8GB of RAM, and a GPU powerful enough for many 1080p games. As the cpu is x86 architecture, Linux games can be installed, for example via Steam. With that, also Windows games can in many cases easily be run, thanks to Proton. 3D acceleration works, with Vulkan.
- Because it makes just a useful desktop with enough power for internet surfing, simple development
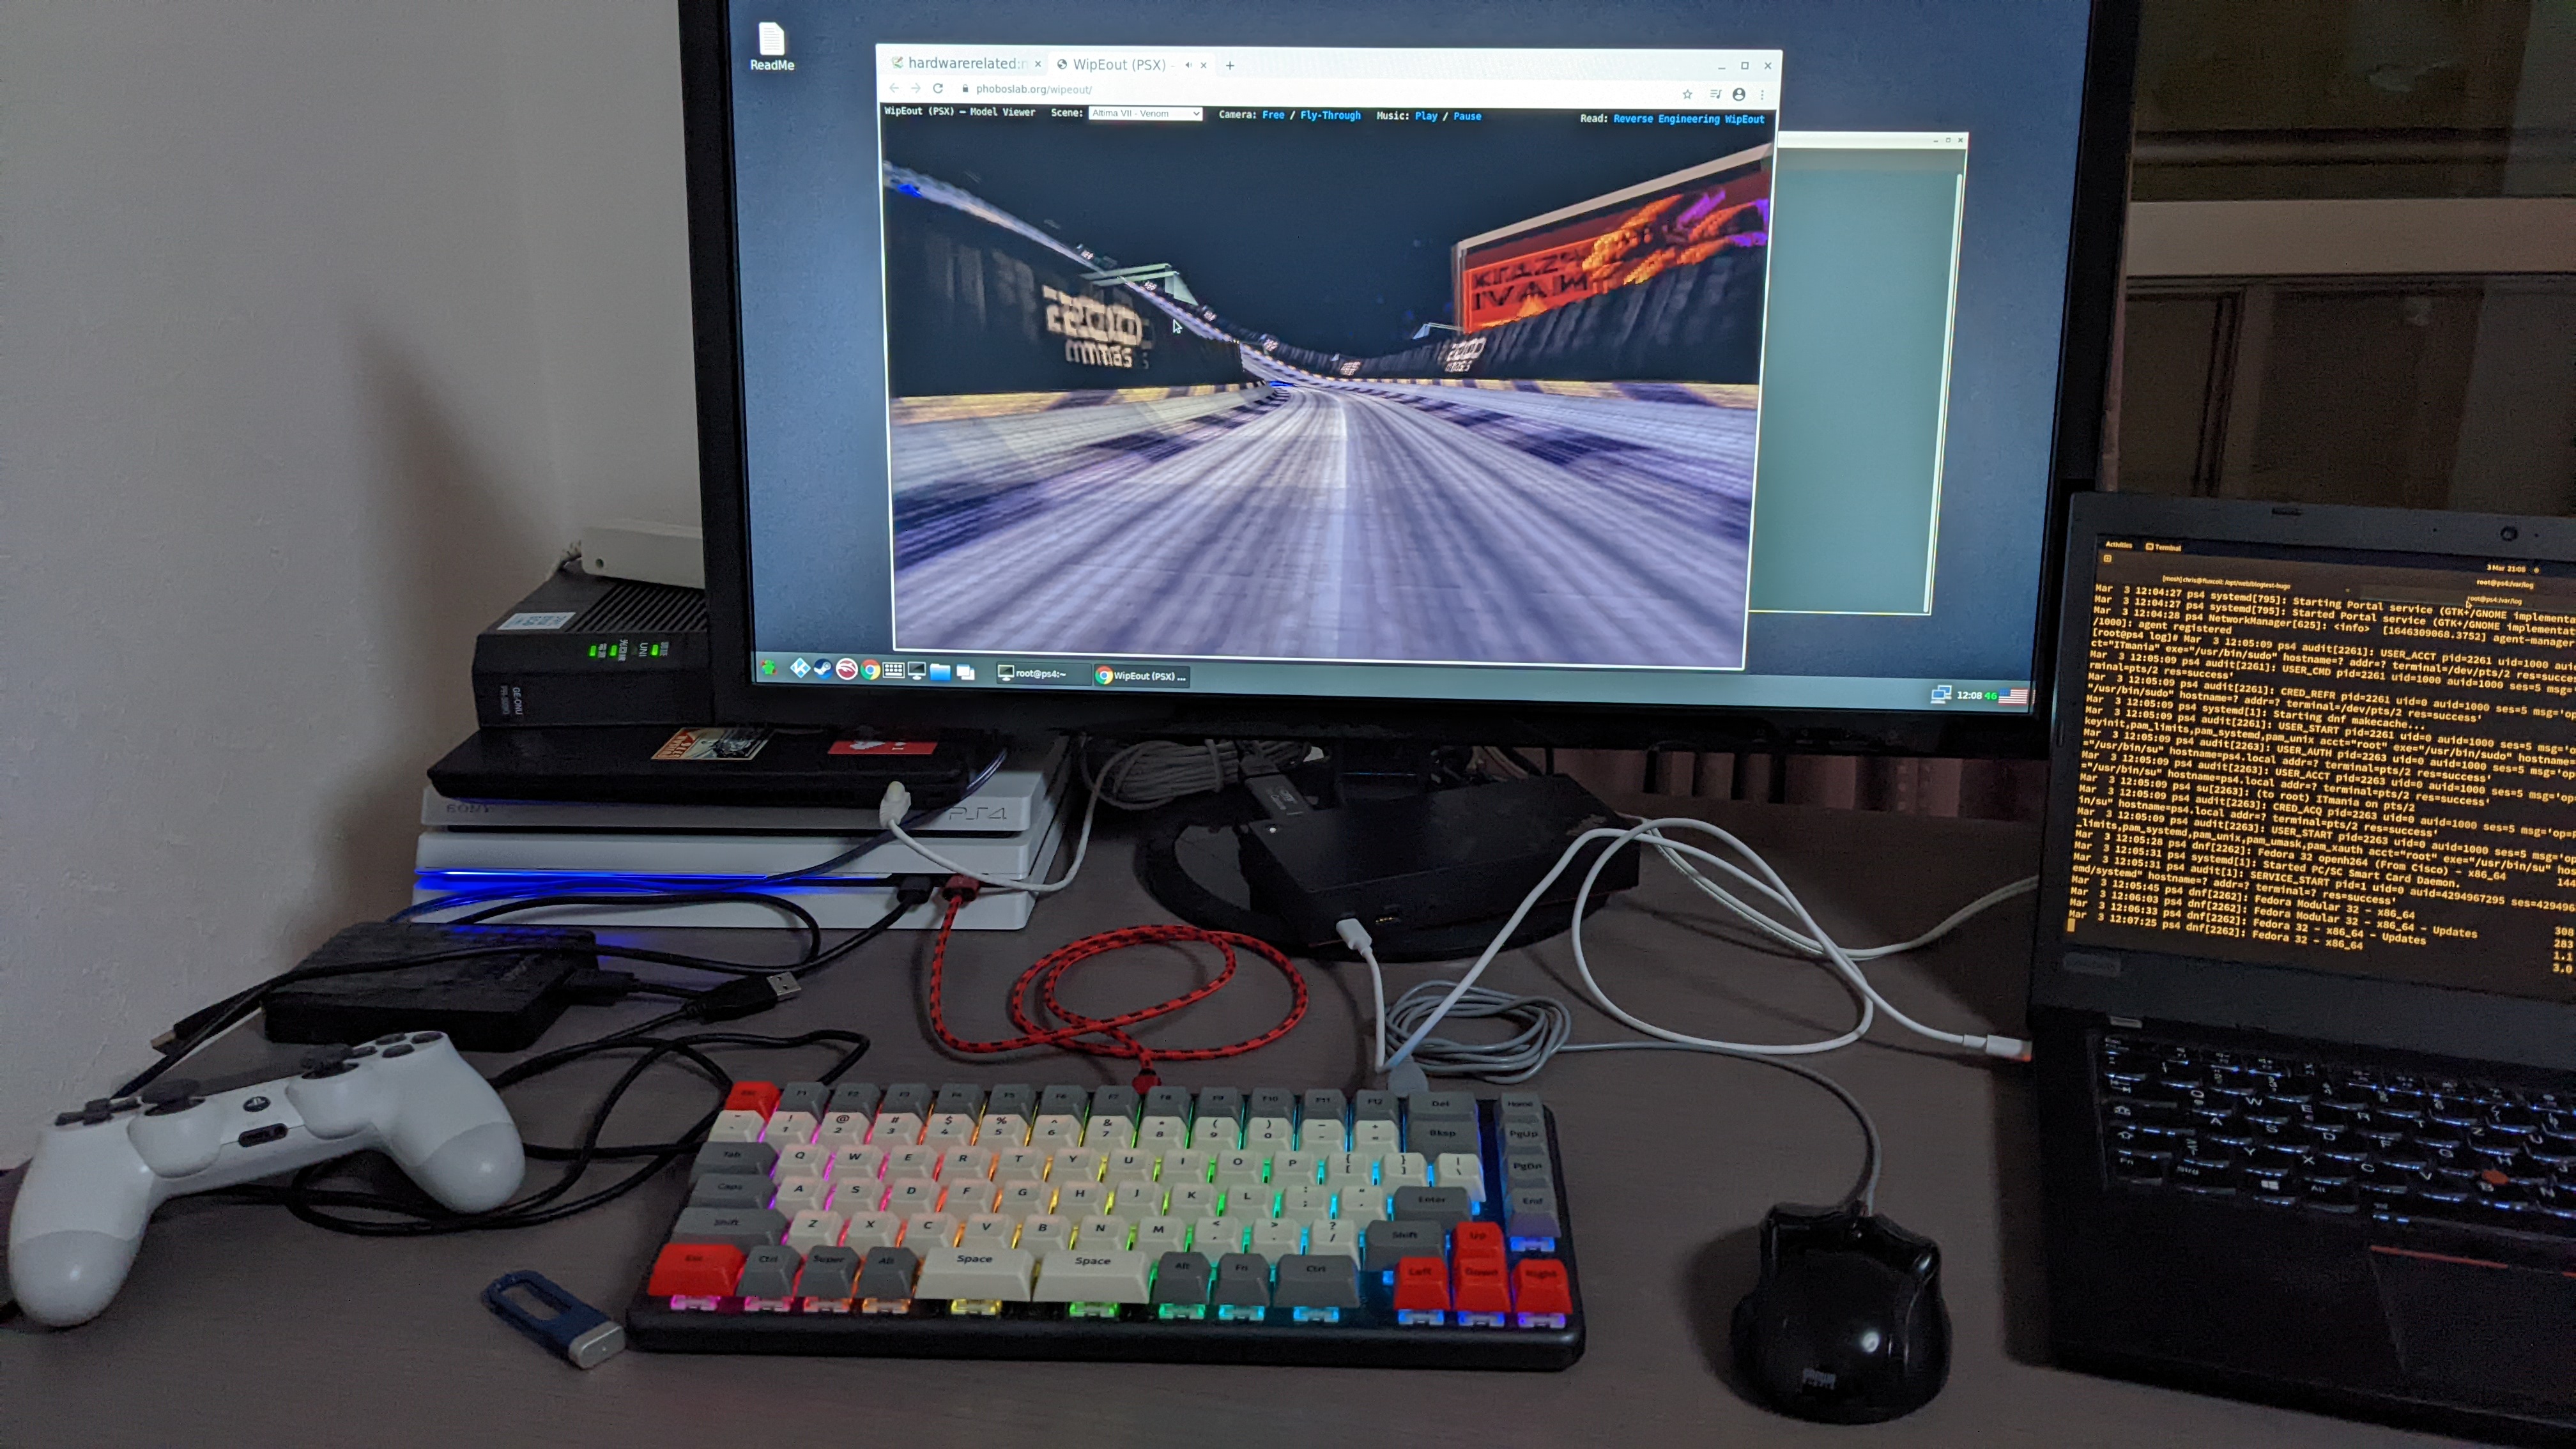
This is the PS4 running the fantastic
WebGL wipeouthttps://phoboslab.org/wipeout/ code:

Trying out Linux also comes with low risk: external storage is used, the internal disk not touched. As the internal storage is a rotating disk, using a fast external storage also gives you better performance.
Why NOT run Linux on the PS4?
- If you are looking for a simple media player, just get a Raspi4. It boots up without jailbreak, has enough power to play media.
- You should have some Linux experience, and be willing to spend time for debugging.
The current solution requires you to jailbreak the PS4 again after each reboot. The jailbreak works with overflows, and is not working every time: you might end up trying for 10min until the jailbreak works. If you use the PS4/Linux as media center solution and your family is waiting for watching a movie, then this might be to long for you.
The Generic Steps & Preparations
When the PS4 boots, the firmware starts only code signes by ’trusted’ parties. The code we want to run has not been signed, so are first running the normal system, and then using weaknesses to get our foot into the door, and run our code.
Security holes which can be exploited like this existed for various firmware versions, when they got known newer firmware versions with fixes have been released. The recent jailbreak requires firmware level 9.0, if your firmware is lower you can upgrade to 9.0 and then use the jailbreak. If you run higher versions, you are out of luck for the moment.
Preparations:
I use a PS4 CUH7200B B02 1TB, a usb keyboard (System76 Launch) and usb mouse.
you need a small usb stick, a small image is written onto the stick, no partitions etc. are created. If your stick is at /dev/sdx:
# dd if=exfathax.img of=/dev/sdxa further stick should be 16GB or bigger. It will be used for the Linux system. I strongly recommend here to use an SSD connected via usb3, or an NVMe-enclosure with an NVMe inside. Plain usb-sticks have quite bad performance for small writes/reads, and that is exactly what we do when installing, running and updating Linux. This media should be prepared with a DOS-style partition table, a single partition spanning the media, FAT32 formatted. The following command does this on Linux with gnu-parted, if the stick/SSD is available at /dev/sda:
# parted -s /dev/sda mklabel msdos
# parted -s /dev/sda mkpart primary 0% 100%
# mkfs.vfat /dev/sda1
# mkdir -p /mnt/tmp
# mount /dev/sda1 /mnt/tmp
Then, we need to copy 3 files to /mnt/tmp:
- the Linux kernel, filename bzImage
- the initrd, filename initramfs.cpio.gz
- an image with the Linux distro to be installed, file name psxitarch.tar.xz
For a start, the ‘Fedora 32’ distro image, a kernel and the initrd can be be obtained from the description section of this tutorial video. As for the kernel: these depend on the type of your hardware, you might have to try out various kernels to find one working. You can also compile your own kernel and boot that - but debugging that is challenging, as monitor output might not be working. The ‘5.3.7 Gentoo gc41cdf12d-dirty’ works for me.
For now, with these 3 files on the second stick/SSD, the preparations are done.

The Detailed steps to boot Linux
The generic workflow is like this:
- The PS4 needs to be updated to firmware 9.0, and then be prevented from updating the firmware, in setting custom DNS servers which do not resolve the systems used for updating
- I recommend to watch this video, to set DNS servers as per the video, access the PS4 webbrowser as per video.
- Then, via the PS4 webbrowser, the URL from the video is accessed, code loaded and executed. As it executes, it asks to insert the usb-stick with the filesystem-exploit. If succeeding, you are asked to take out the stick, and get a message that the jailbreak code is now running. For me, the site for the manual exploit and GoldHenV2b2 works best. 2 things are happening: one is the actual exploit (utilizing a weakness to run own code), and then running own payload. One of the possible payloads is to start Linux kernels.
- Next, video mode preparations need to be done: the screen needs to be set to 1080p, no HDCP, full RGB color space.
- Then, you should connect a usb keyboard and mouse, your usb stick/SSD
with the Linux distro, and run ‘Linux/1GB’ from the same site.
This allocates 1GB of the 8GB memory to the GPU, and leaves the rest for the Linux kernel. If loading is successful, you see a message ‘waiting for clients’, then the screen turns black. If the kernel loads properly, the PS4’s LED turns blue and violet, and we get via HDMI console output from the booting Linux kernel. If that does not happen, most likely the kernel you use does not fit your hardware, try a different kernel. - This should now have started the kernel and run the initrd, and
dropped us into a shell, and we can run
The script will# exec install-psxitarch.sh- copy the files to memory
- remove the partitions
- create a small partition with FAT32, and populate it with kernel/initrd
- and create a second partition spanning the rest of the device, for the Linux distro
- When the install script finishes, you drop again to the shell, where
you can run
You should see various systemd services getting started, eventually the screen turning black.# exec start-psxitarch.sh - At that point, I need to disconnect my HDMI cable and connect it
again. I have 2 devices to process the HDMI signal from the
ps4:
- an IODATA LCD-MF276XDB monitor
- and a
simple HDMI grabber
adapter which presents the HDMI signal via usb like a webcam
to a computer.
The grabber is easier in picking up the ps4 signal at this
point. After disconnect/connect of the HDMI cable,
I need to switch to the text console with
<ctrl>+<alt>+<F2>, and then back to the graphical mode with<ctrl>+<alt>+<F1>.
- At that point, you should see a login manager, and be able to login - password ps4linux for the distro mentioned before.
After the first login
The first task should be to open a terminal, and use
# sudo systemctl enable --now sshd
to make SSH login possible. That allows to login, watch logs. Then the distro should be updated - excluding packages as per details in the readme file which you find on the desktop.
Compiling an own kernel
I managed to compile an own kernel, from upstream 5.3.18 sources plus 400kb of patches which introduce a new architecture, which were never upstreamed. The default configs are designed for a monolithic kernel without modules. Compiles fine with Fedora 32 userland, but on Fedora 35 userland binutils is to new. Making an own distro might be fun, with about to be released Fedora 36 userland.
Further points
Here is a collection of further links and hints.
The jailbreak is not persitant, you will have to jailbreak the ps4 after each reboot. There are projects which automate this: a Raspi or ESP32-S2 can span up a wlan network, emulate usb devices, steering the pointer to have the PS4 load the jailbreak, and to offer the special file system for the jailbreak.
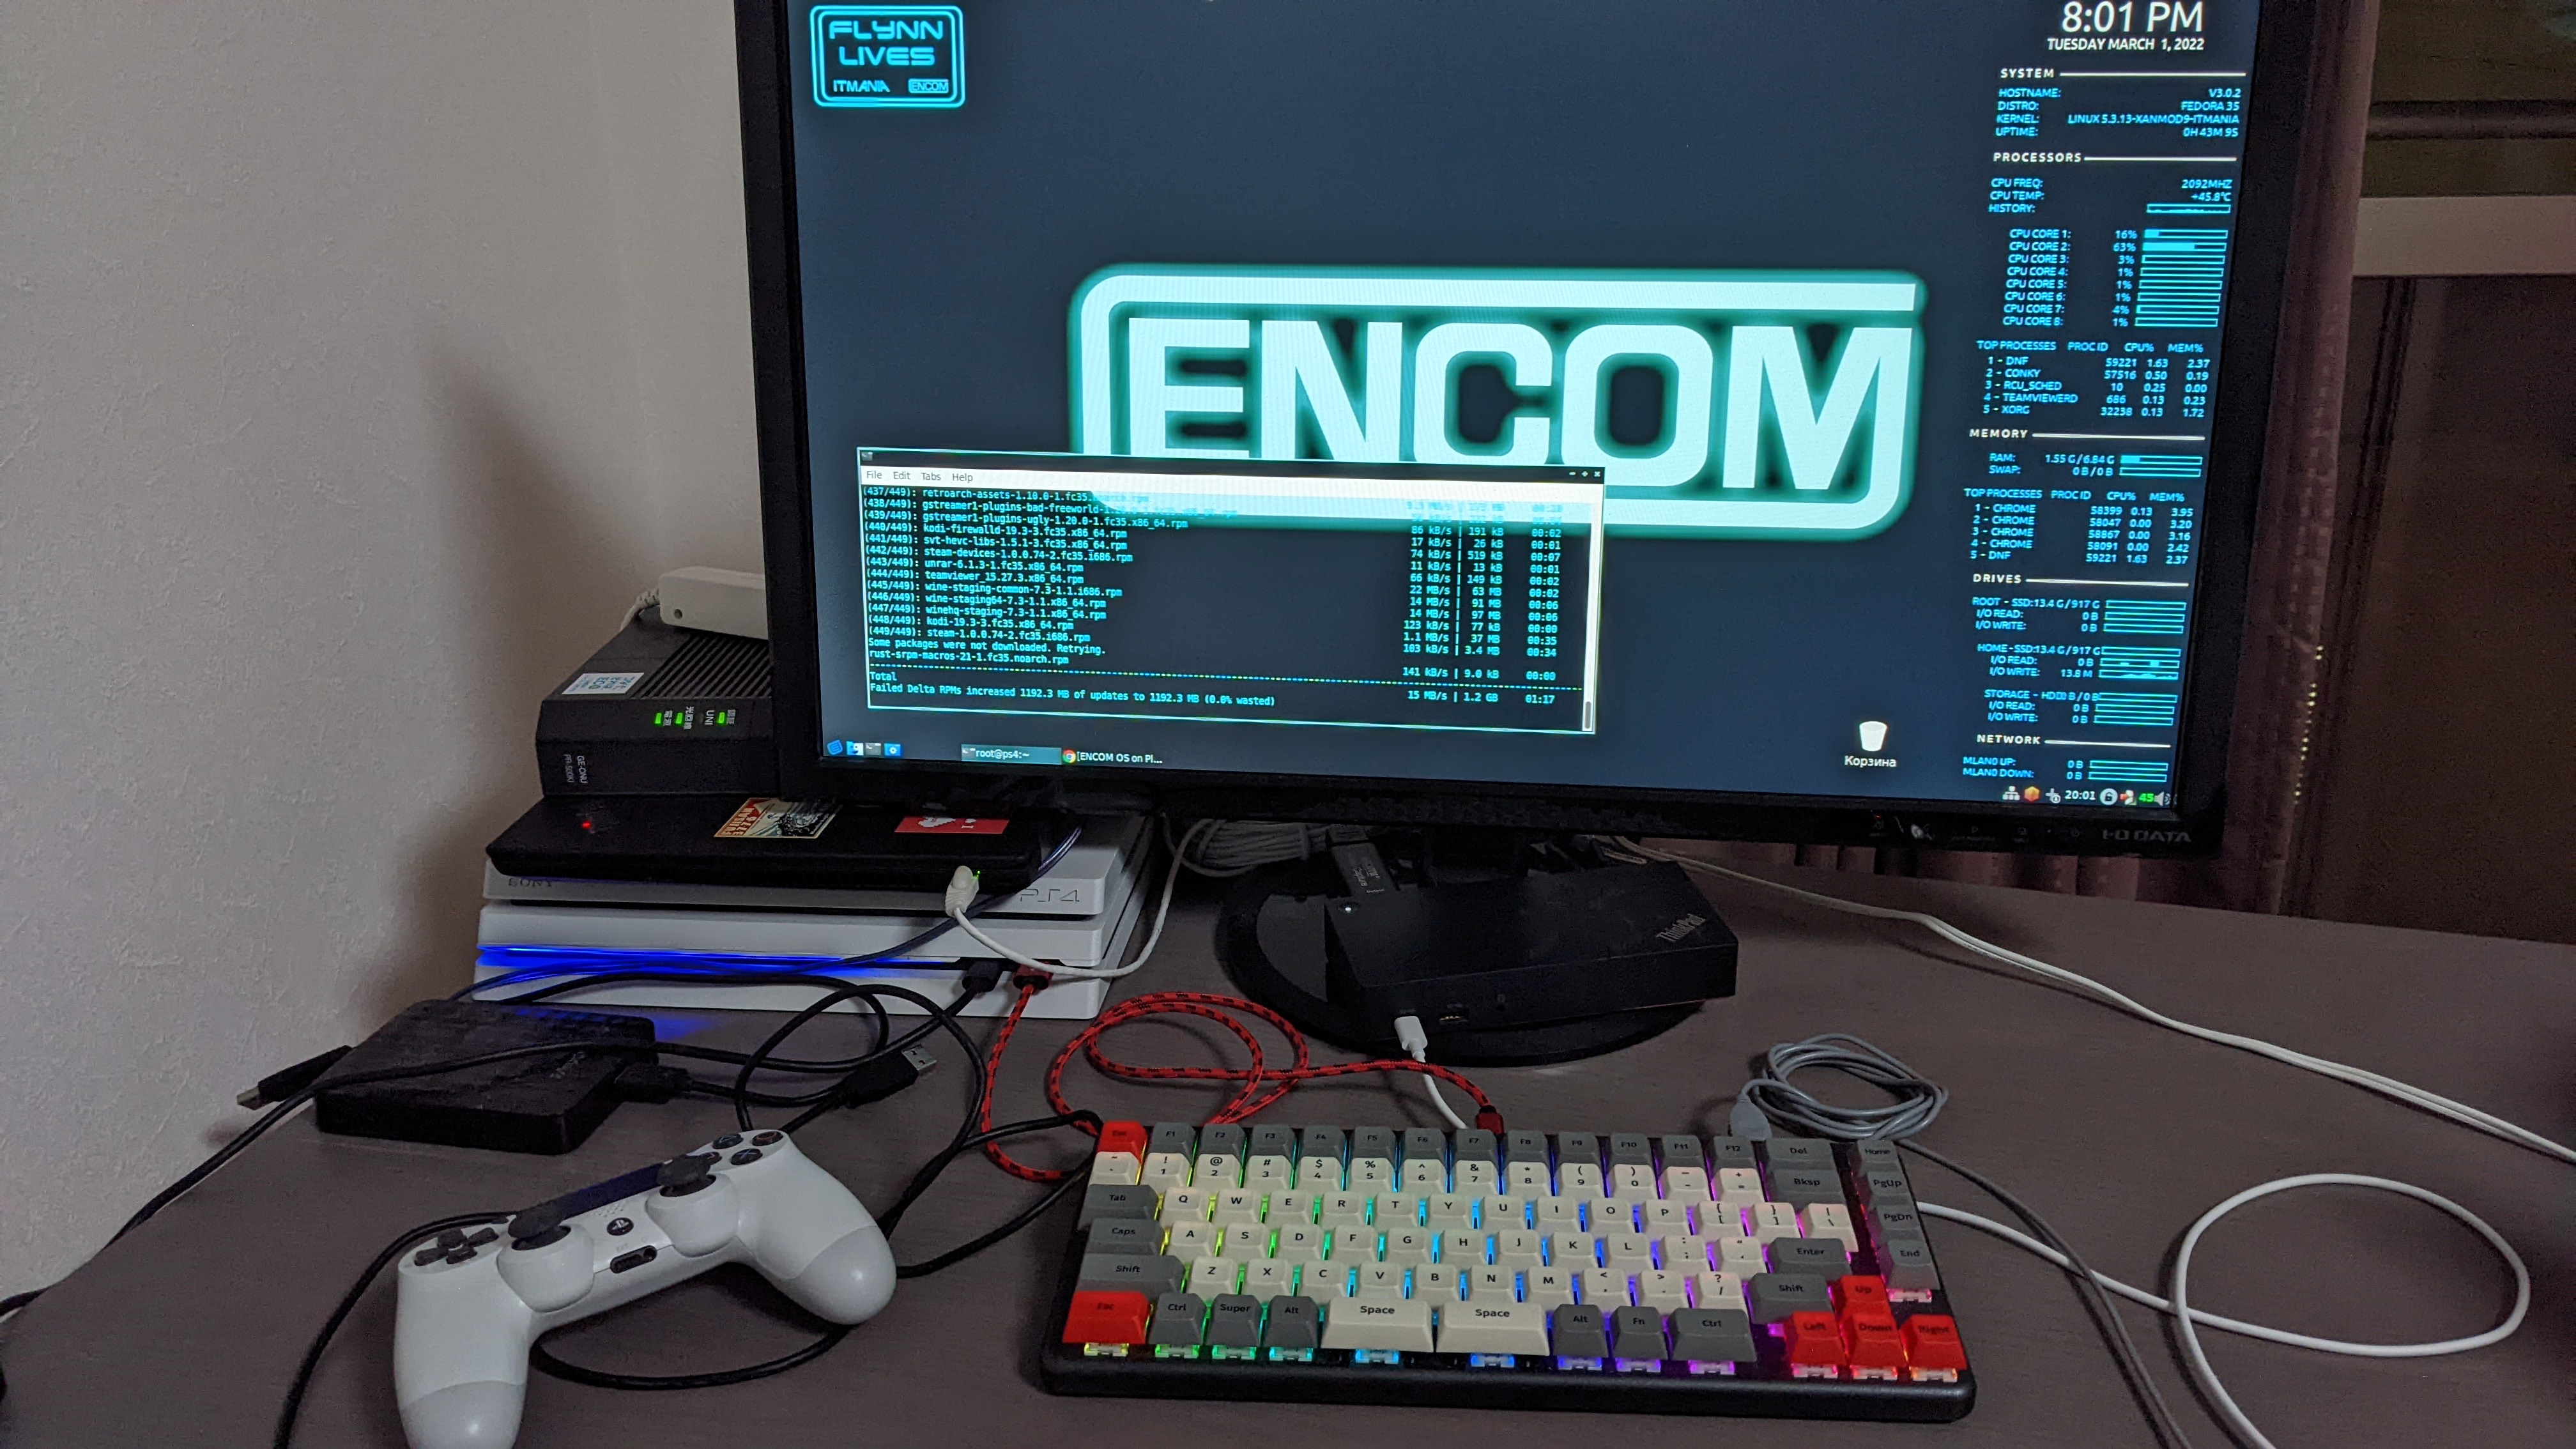
I tried 2 distros: the ITmania one, Fedora 32 based. There is also the ENCOM one, Fedora 35 userland. The current distros do not use YUM-repos for the packages with patches extra for the PS4, that might be useful to setup.
Using the internal disk of the PS4 for storage would be interesting, but as the PS4 only executes signed code after boot, the native system needs to stay in place to boot the PS4 up. That would change if Linux loaders could be signed.

Last modified on 2022-03-02