My classic software selection
In 2016 I moved to Japan, and started to share experiences via multiple ways, all with their own strong points.
- Japan life observations is a static html document, rendered by asciidoc from a file in markup format. I find this useful for text, with a few images inbetween.
- The pictures are backed by 2 kinds of albums:
- The wiki to easily modify content
These services are updated quite frequently over the year, announced via Mastodon or via RSS feeds for these components.
..and then there is the fotobook which I’m producing once per year. This has almost exclusively pictures. I have it physically printed for relatives who do not use the internet, and a pdf version is published for some friends.
In these past 6 years, this was my workflow:
- Sorting the pictures of the past year: via Syncthing the pictures land in a directory on my Fedora system. ~30% get over the year sorted into a Lychee album and put online, the other 70% now get sorted, some deleted, post processed with Gimp and ImageMagick. A few stay at high resolution, the others are resized to 1920x1080 pixels. I use ‘qiv’ for viewing and deleting images.
- Next, I fetched a proprietary software from a German company. At least native Linux software, which then allowed me to compose the pictures into a fotobook, typically with 32 pages. When finished, the software allows to directly upload the fotobook and have it printed, and then one by one send it out directly to the recipients.
- I also created a pdf version, but that Linux software is focused on uploading the data to the company - creation of a high quality version is not in scope. My workaround was to have all pages of the fotobook displayed one by one, take screenshots, and then compose these into a pdf file. The outcome is a 6-10MB pdf file of low quality.
Refining the workflow
The first step, going through the years pictures, has not changed this year. I need to select myself the resolution I want the picture in, for high quality for later printing/usage as screen background, or low resolution to minimize occupied space.
Biggest pain point in the past was the low quality pdf, and the fact that updating the pdf after changed in the fotobook took much effort.
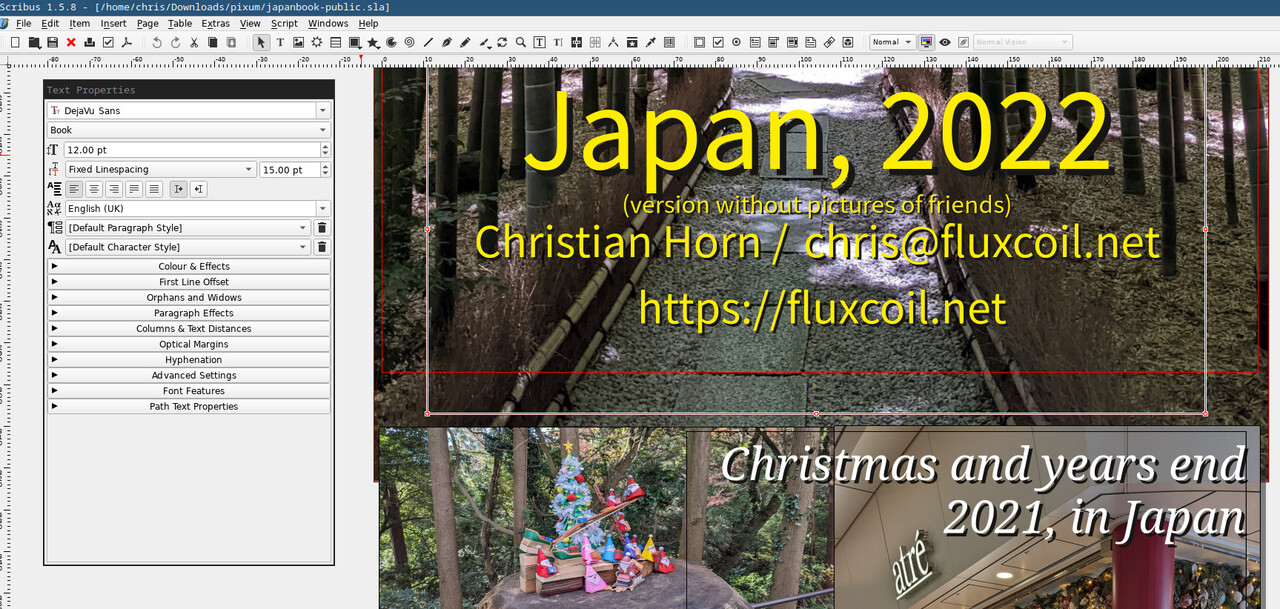
My new workflow is based on composing the fotobook with scribus, an Open Source software often used to layout flyers, documents which have text and images - and where one wants to be very flexible in deciding the layout, where text should flow around images, and so on.
If one has documents with more text, then LaTeX and co. get more interesting: they typeset following good common rules and allow the writer to focus on the contents. Just in my case, there is almost no text, and I want full control over the placement of the images.
The new workflow in detail
Of course, starting to work with a new software like scribus takes a bit of time, but having a visual editor (like gimp, Inkscape etc.) makes things easier, I came up with a fotobook after some hours.
Exporting to pdf gave me nearly a heart attack: the exported pdf file with ~30 pages had 180MB in size. For printing at a company, the size would not matter, but that file would be to big for friends to ‘just download and have a look’.
Dots per inch (dpi) is an important unit. For printing, using material with 300dpi or more should lead to acceptable results. A print of a low resolution image on a big sheet of paper will look bad. When exporting to pdf in scribus, options to compress lossless are the default, resulting in big files.
The new workflow allows me to tune the output quality versus the file size, here you can access various versions:
- max quality, 72MB: This is what I sent to the company for printing.
- 300dpi, 43MB: hard to distinguish from the 72MB version
- 200dpi, 25MB: quality down a bit, when zooming in
- 100dpi, 8MB: quality down even more - but still looks way better than what I got the last years from the screenshots.
These are links, you can compare the versions directly. “pdfimages -list filename” shows that the maximum quality file has images with up to 900dpi, for the other versions it confirms that the images were indeed scaled down.
I recommend that you start with asking a printing company to just print a single book, instead of directly ordering 10. That gives you a chance to correct issues, this is the first version I received:
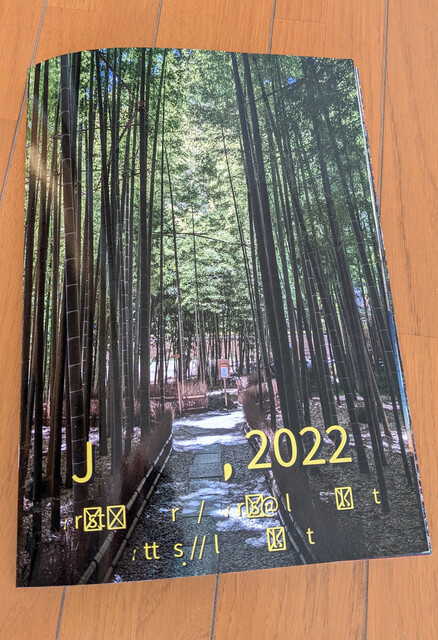
Now I modified the pdf and wait for delivery of the second print.
Summary
I love the flexibility I gained: my source file (scribus format) is now open, I can easily modify it, create a public version with faces of family members and friends cut out. The resulting pdf file has by default excellent quality (but is big), and with options I can reduce the quality and get smaller pdf files.
So creation of the image book took this year longer than last year, this is in part due to the new workflow and will improve a bit in the future.
Something I really like about my LaTeX and asciidoc workflows is that I
have a plain textfile and then have the output rendered from that.
Besides commandline ‘diff’, I really like the graphical tool ‘diffuse’
for this, it’s packaged in Fedora. With my new
workflow, the scribus file is the ‘one source’. To compare multiple
scribus files, I need to open them in parallel and visually compare how
they are rendered.. that’s not as nice.
Last modified on 2022-12-20