Note: I’ve taken out the IPv6 pieces here and moved them to a dedicated blog article.
Since the beginning of 2024, I run my own router. I’m using NTT flets GBit fiber as physical provider, and Biglobe as ISP ontop - other ISP’s do the IPv6 things differently. I started with 2 OpenWRT routers, after both of them went defective, I run the Star64 RISC-V board as router, with this functionality:
- Talking PPPoE with the ISP, and provide IPv4 NATing for the LAN systems, currently the Thinkpad T590
- Wireless access AP for my mobile phone and other devices like smartplugs and Thinkpads
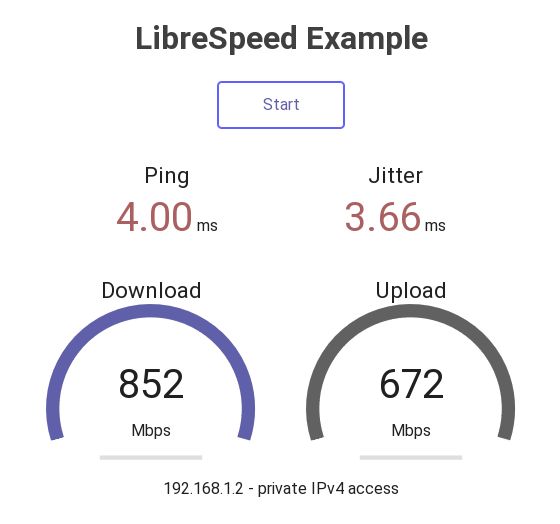
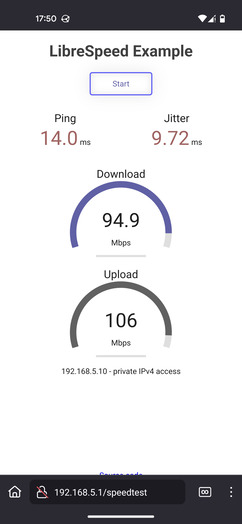
- Nginx/PHP hosting Librespeed, allowing to quickly verify bandwidth and latency to LAN and Wifi clients
- IPv6 access to the LAN
The Star64 here is running Linux from an NVMe card, plugged into a PCIe card, plugged into the PCIe slot of the Star64. This became possible after a firmware update. Until now I was running a distro based on “Ubuntu 23.04 (Lunar Lobster)” - which is no longer receiving updates. Time to upgrade to Debian.
Installing Debian
My old setup was on an NVMe, with a single GPT partition, with ext4 file system. I have a USB3 connected NVMe enclosure and another NVMe, which I could mount on the running system and setup the new distro. Then did shutdown the star64, swap both NVMe’s, and boot from the new system. For debugging, that was done several times. I also needed the serial console access to the Star64 for debugging when no network is available.
Why Debian as new distro? Because it’s just uncomplicated for updating to new major or minor versions. First issue: to find mirrors with RISC-V. Ideally I wanted to install Debian 12/Bookworm, as I do not need latest features, wanted rather stability and packages not much in flux/frequently updated. I experimented with debootstrap to get a basic Debian system together: available on the old Ubuntu, also as package on Fedora 40. The Fedora package worked well, and I found RISC-V available as Debian sid (unstable) and Trixie, the Debian testing variant right now. Creating partition, file system:
| |
I run debootstrap on Fedora, then tar up the file system, and untar it to the new NVMe:
| |
Basic network setup
With that, we can swap both NVMe and boot from the new system. No network configured right now, so access via serial console, details here. On the Ubuntu based distro I used NetworkManager, some pros and cons:
- pro: the setup of the Wifi AP is extremely easy
- con: I did not get pppoe properly setup with NetworkManager
The Debian suggestion seems to be systemd-networkd right now, so going with that. My ethernet devices appear as “end0” and “end1”, and wifi as “wlx14f5f9517bcc”.
| |
This the LAN facing interface, just setting a static v4 and v6 address. After rebooting, this becomes active, “networkctl” and “ip addr s” confirm.
PPPoE and NAT setup
The pppoeconf tool does the setup for us - it’s working outside of systemd-networkd and setting up pieces in /etc/network/interfaces, so pppoe is started after reboots.
| |
Setting up IPv4 NAT for the LAN clients, and Wifi clients on 192.168.5.0/24 network:
| |
Manual triggering of the PPPoE session with “pon dsl-provider” and “poff” works then. The user/password for the pppoeconf tool are the ones used for the data ISP, here Biglobe. pppoe is then getting listed by networkctl, but is not fully managed by systemd-networkd:
| |
Wifi AP
With NetworkManagers, this is as easy as just defining a new connection with “nmcli” and parameters. On Debian, I use now a dedicated dhcpd and hostapd.
| |
Nebula
After compiling an own kernel for the Star64, I also have now the tun kernel module which was missing so far, and can run the Nebula client on the system.